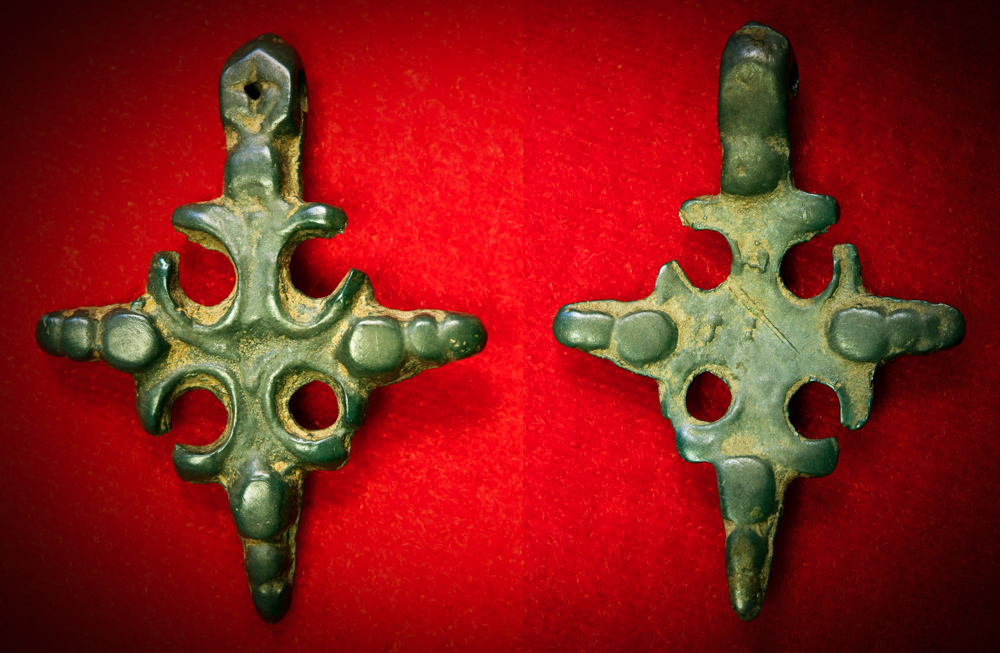
Body Crosses: Preview: Images 3 of 3
![[First]](bw_first.gif)
![[Prev]](bw_prev.gif)
![[Index]](bw_index.gif)
![[Next]](bw_next.gif)
![[Last]](bw_last.gif)